Make A Play Fort That's Easy To Build, And Built To Last
Create, Build, Play — Easy Set Up In Minutes, But Hours Of Fun!

We broke it down, so set up is a breeze.
Our play forts are easy to build. Follow these steps and you'll be building in minutes.
Each fort panel by themselves looks like it has 3 tabs and 2 half-slots. When you put two fort panels together, you will see that they form 2 full slots.
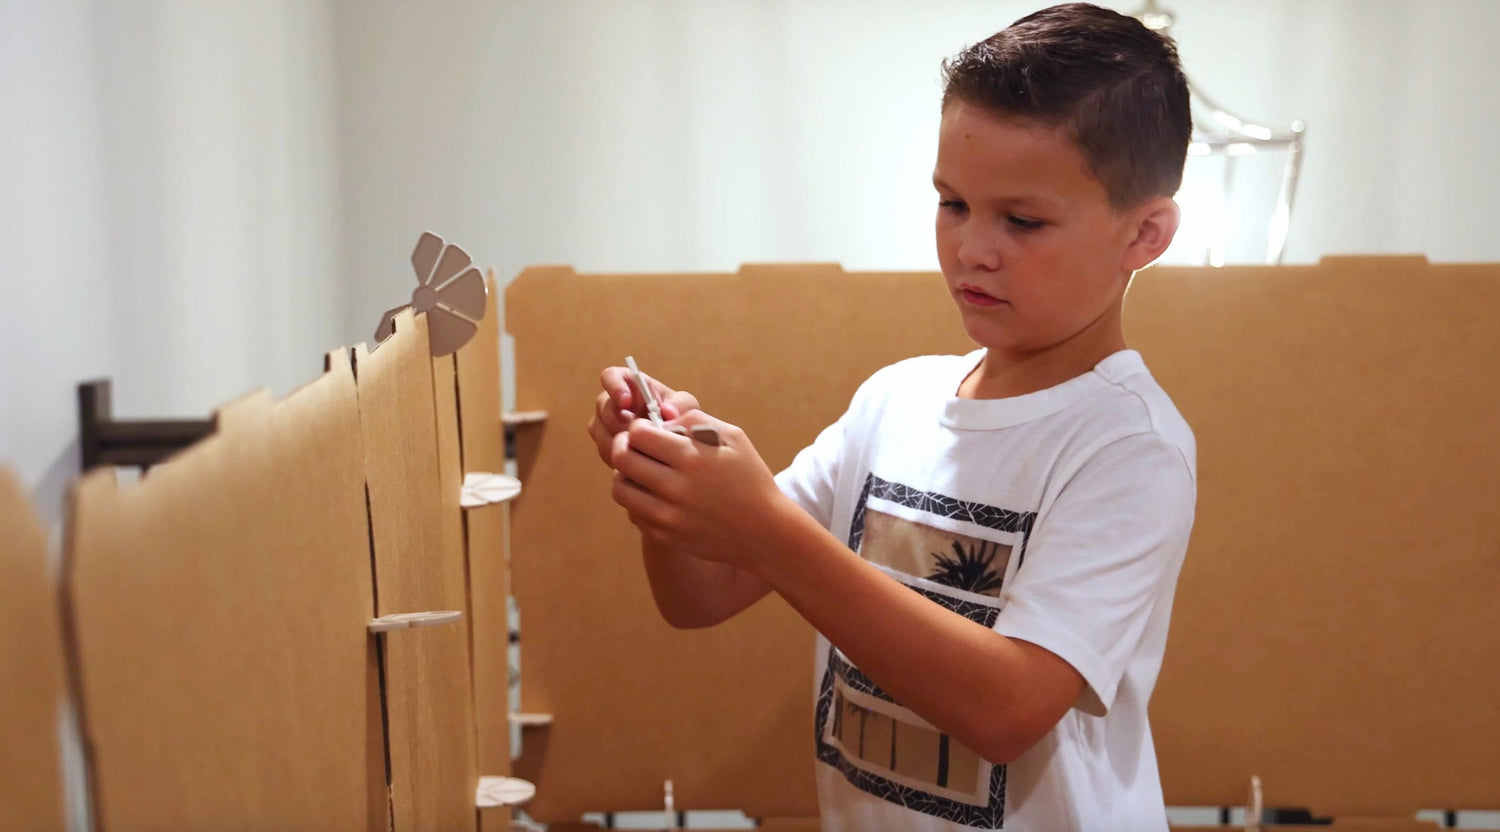
The connectors are designed to be inserted anywhere inside the slots. In step 1, Jayce has inserted one connector in the top half-slot, and is inserting another connector into the bottom half-slot. He will then push another fort panel into the connector slots to join them together.
Step By Step
-

1. ALWAYS Start by building a Corner.
Once you form a corner, you kit will be self-standing. Begin by taking a wall panel. Slide one connector into the upper half-slot and another connector onto the lower half-slot. Attach a second fort panel perpendicularly into the connector slots, ensuring the fort panels are pushed all the way into the connector slot . The fort should now stand on its own!
-

2. Add Horizontal Fort Panels.
To make your fort longer or wider, simply add connectors to the top and bottom half-slots of an existing fort panel. Align a new fort panel with the connector slots, and push together for a snug fit.
The connectors are very sturdy. Once you connect a will panel in place, you can walk away without fear of it falling over.
-

3. Add Height To Your Fort
To make your fort taller, attach a connector to the left and right fort panel half-slots on top of the existing panel. . Then, align the tabs of the new fort panel with the tabs on the fort panel below, and push the fort panel into the connector slots for a snug fit. The connector will hold the fort panel upright, so you can walk away to get more panels, more connectors, or a sip of water!
-

4. Use the Twist-Lock Connector Feature
To connect two fort panels that have already been joined on another side, use our patented Twist-Lock© feature. To do this, pinch the two fort panels together at the tabs. Insert a connector into the slot and rotate or twist it 90 degrees into place. Repeat this process for the other slot on the wall panel. Don't worry if it's tight or a little difficult to twist onto the fort panels. A snug fit is a sturdy fit! Don't worry, the panel will stay upright so you can walk away to get more connectors and panels!
-

5. Add a Ceiling Panel
PRO-TIP:
Pre-load your ceiling fort panel with connectors on each side of where the roof fort panel that will touch a wall fort panel. If it's a corner ceiling fort panel, place connectors on two edges of the ceiling fort panel.
-

6. Attach the Ceiling
Line up your ceiling fort panel with the top of the fort wall panels. Use the tabs as a visual guide for aligning them properly.
Now, just align the connector slot with the half-slots on the wall panel(s) and push the connectors into the wall panel slots. Your fort is now complete!
Fort Kits
-
Hobie Fort Building Kit - Kids Play Forts Kits That Spark Imagination
Regular price $116.46 USDRegular priceUnit price / per$116.46 USDSale price $116.46 USD -
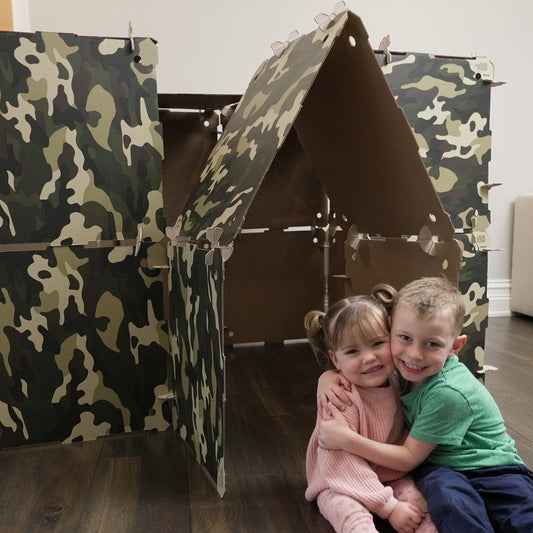
Commando Fort Building Kit - Camouflage Kids Play Fort Kits For Kids!
Regular price $139.99 USDRegular priceUnit price / per$139.99 USDSale price $139.99 USD -
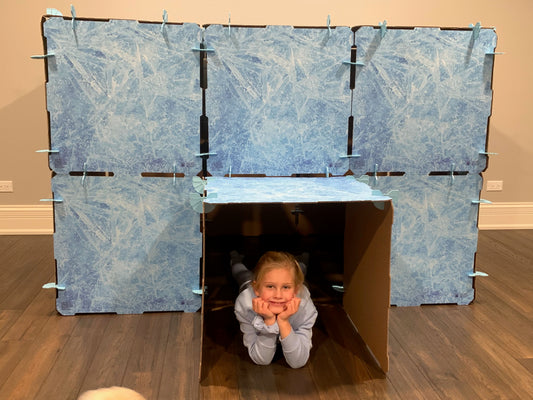
Frosted Fort Building KIt- The Perfect Frozen Play Fort Kit For Kids!
Regular price $139.99 USDRegular priceUnit price / per$139.99 USDSale price $139.99 USD


